


In this quick post, I will show you how to add a new user to an EC2 instance and SSH with your own private key rather than having to authenticate using the private key generated by AWS.

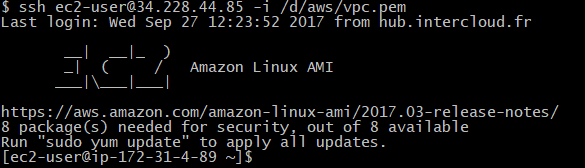
Connect via SSH into your instance using its public IP:
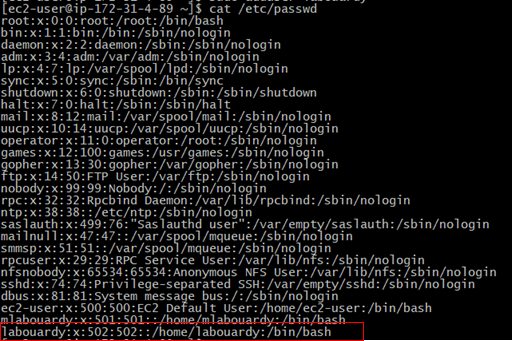
Next, create a new user using the following command:
1 | sudo adduser labouardy |
Next, we switch the shell session to the new account:
1 | sudo su labouardy |
Create .ssh directory, and change the directory permission to 700 (only the file owner can read, write or open the directory):
1 | mkdir .ssh |
Note: ensure you are in the new user’s home directory (example: /home/labouardy)
Create an empty file called authorized_keys in the .ssh directory and change its permissions to 600 (only the file owner can read or writ eto the file)
1 | touch authorized_keys |

Finally, edit the authorized_keys file and past in your public key:

Once you’ve done this, exist out back to your machine, then try to SSH using the the new credential and user account you’ve created:
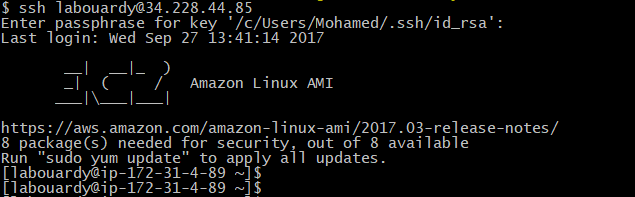
We now are logged in as user labouardy 😄
Drop your comments, feedback, or suggestions below — or connect with me directly on Twitter @mlabouardy.